[RZ3] Outlook Integration (BETA)
O365 Integration
Integrate your O365 account with your Roomzilla page to begin managing your reservations directly from your Outlook account.
Note: this article refers to version 3 of the Roomzilla application. It is not available in the newest version (4) yet.
Pre-requisite
Ensure that you have the Administrator access level assigned to your Microsoft 365 Admin Center account and that you have ‘Resources’ and ‘Resources Mailboxes’ created (verify at https://admin.microsoft.com/ ). Otherwise, you won’t be able to integrate your MS Account with Roomzilla. Once ensured – proceed to Step 1.
Step 1 Approve Integration
1. Head to the “Integrations” tab and select Outlook Integration.

2. This will take you to the Microsoft log in screen.
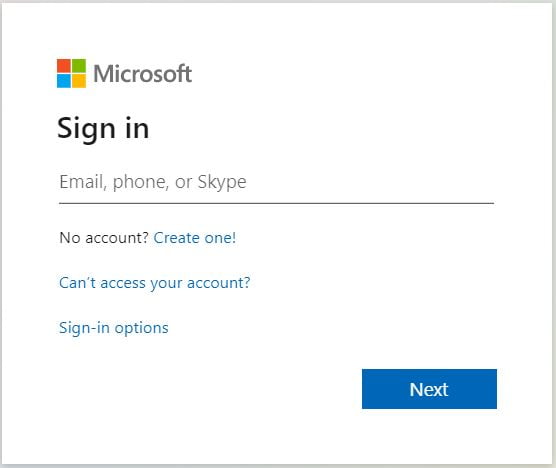
3. Once you have entered your details and Accepted the below Permissions you are ready to start STEP 2

Step 2: Adding Your Rooms
- On the Calendar page select “Add” to add your first Microsoft Room Address.

A. Enter the name of your Resource
B. Enter the Microsoft Room Address taken from your O365 account.
C. Get a list of all your Resources from your O365 account.
2. Once you have created your Resources they will then appear in your list on the Calendar Tab
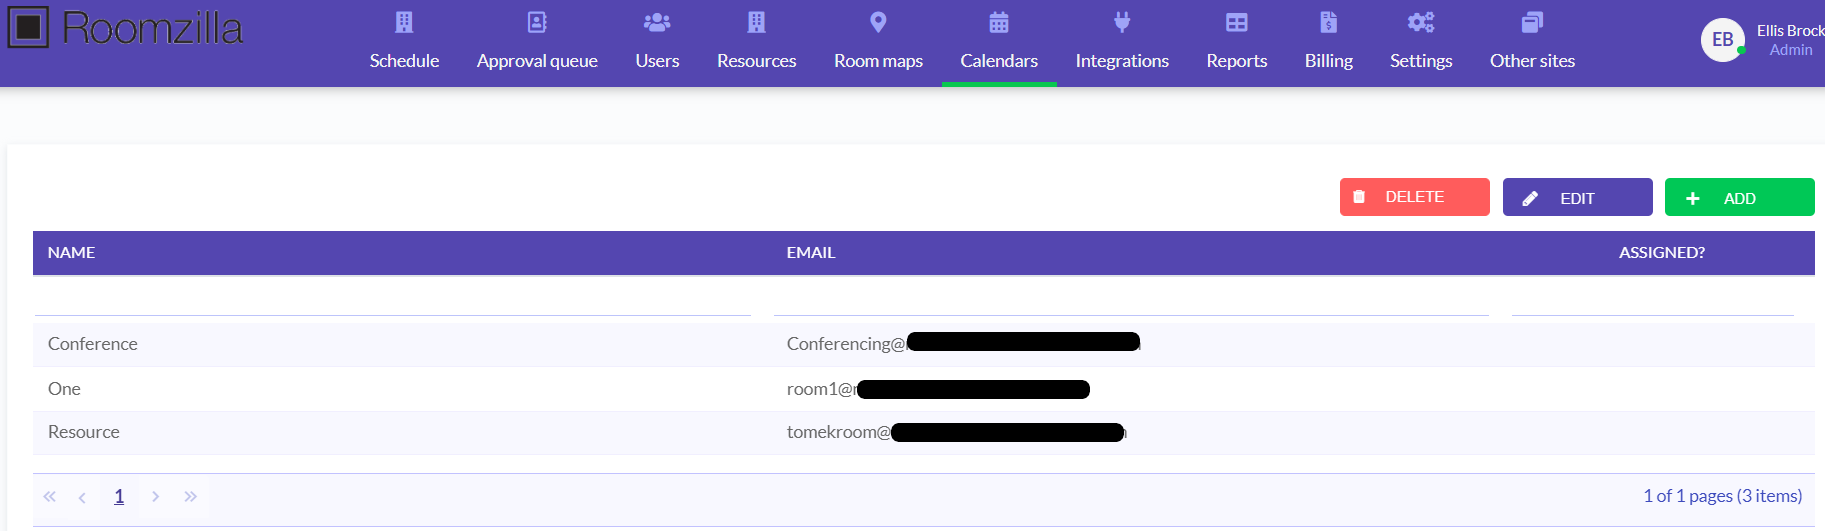
Now you can move on to the next step to apply your Resources to your external calendars.
Step 3: Link your Resources
Connecting your Outlook Resources to Roomzilla.
- Head to the Resources Tab and select to Edit the first Resource you want to Integrate.
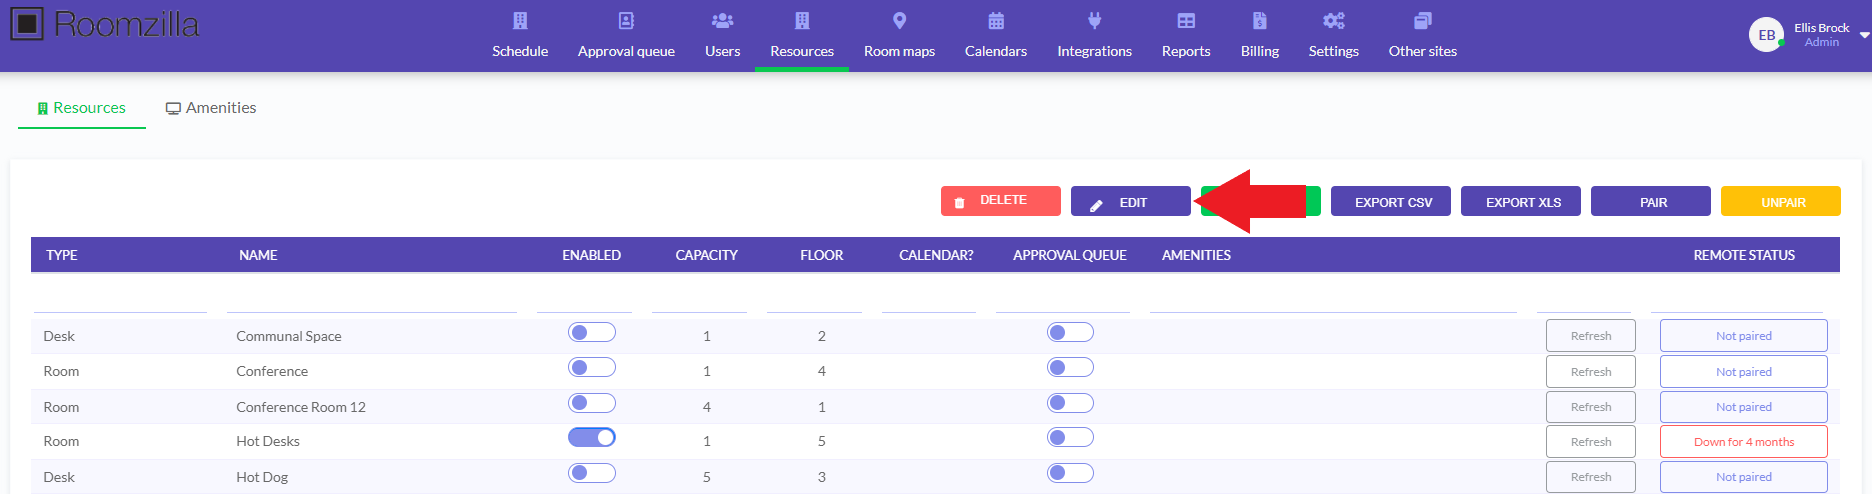
2. At the bottom of the Resource you will see the option for “Calendar” select this to reveal a drop-down list of all

Now your resources have been integrated they will both begin communicating with each other.
Simply repeat this process with your remaining resources.
Still have some questions about Roomzilla? Why not reach out to us directly on: Team@Roomzilla.net
Or check out our YouTube channel for more detailed guides about our system.
